Step 1
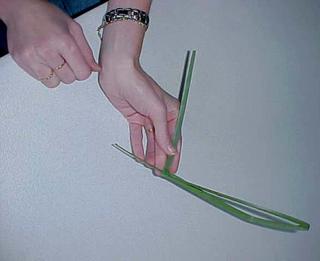
Hold the palm horizontally.
|

|
|
Step 2
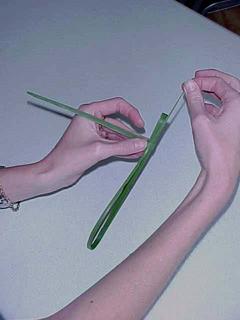
At about the half waypoint fold the palm up towards the ceiling to create a ninety-degree angle.
|

|
|
Step 3
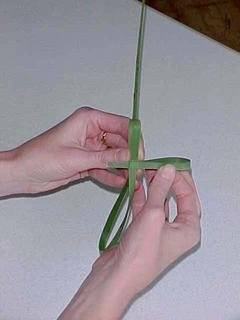
Take this piece and fold it tightly down towards the floor. (Do not try to make the cross. At this point you are making the square in the middle).
|

|
|
Step 4
Still using the same piece of palm, fold it back up toward the ceiling.
|

|
|
Step 5
Take the other piece of the palm and fold it across the square you have been creating.
|

|
|
Step 6
You will now take this same piece of palm and thread it through the small square you have created. This square is at the back of the cross and you will see the right angle you originally created in this square – thread the palm under this right angle piece.
|

|
|
Step 7
Pull tightly and you should have a completed knot that does not need to be held.
|

|
|
Step 8
Take the palm that points towards the ceiling and fold it down toward the floor and thread it through the square you have created at the front of the cross. This will be the top of your cross.
|


|
|
Step 9
Still using the same piece of palm thread up back up through the same square you used in the previous Step to create the bottom of the cross.
|

|
|
Step 10
Turn the half made cross around so that the remaining horizontal piece of palm is to the right. You should have a vertical square in front of you and a horizontal piece of palm to your right. Take the unwoven piece of palm and thread it through this square to create one side of the cross.
|


|
|
Step 11
Take the same piece of palm and thread it through the same square you used in the previous Step making certain to thread it behind where you had previous threaded. You should have a cross that still has some palm pieces hanging out either on top and sometimes in the sides of the cross.
|


|
|
Step 12
Cut the strands that do not belong in your cross.
|

|
|
Reference: 